
Your users
Sign-up, login and invitations
Registration, email verification, password reset, login with Google and team invitations, done by the service. You set the app name, the URLs and the emails.
Registration, email verification, password reset, login with Google and team invitations are the part of every app that is the same every time. The Sign-up, OAuth & Invitations plugin does them for your service: your app shows the forms, the service does the rest, and the Kit already wires the two together.
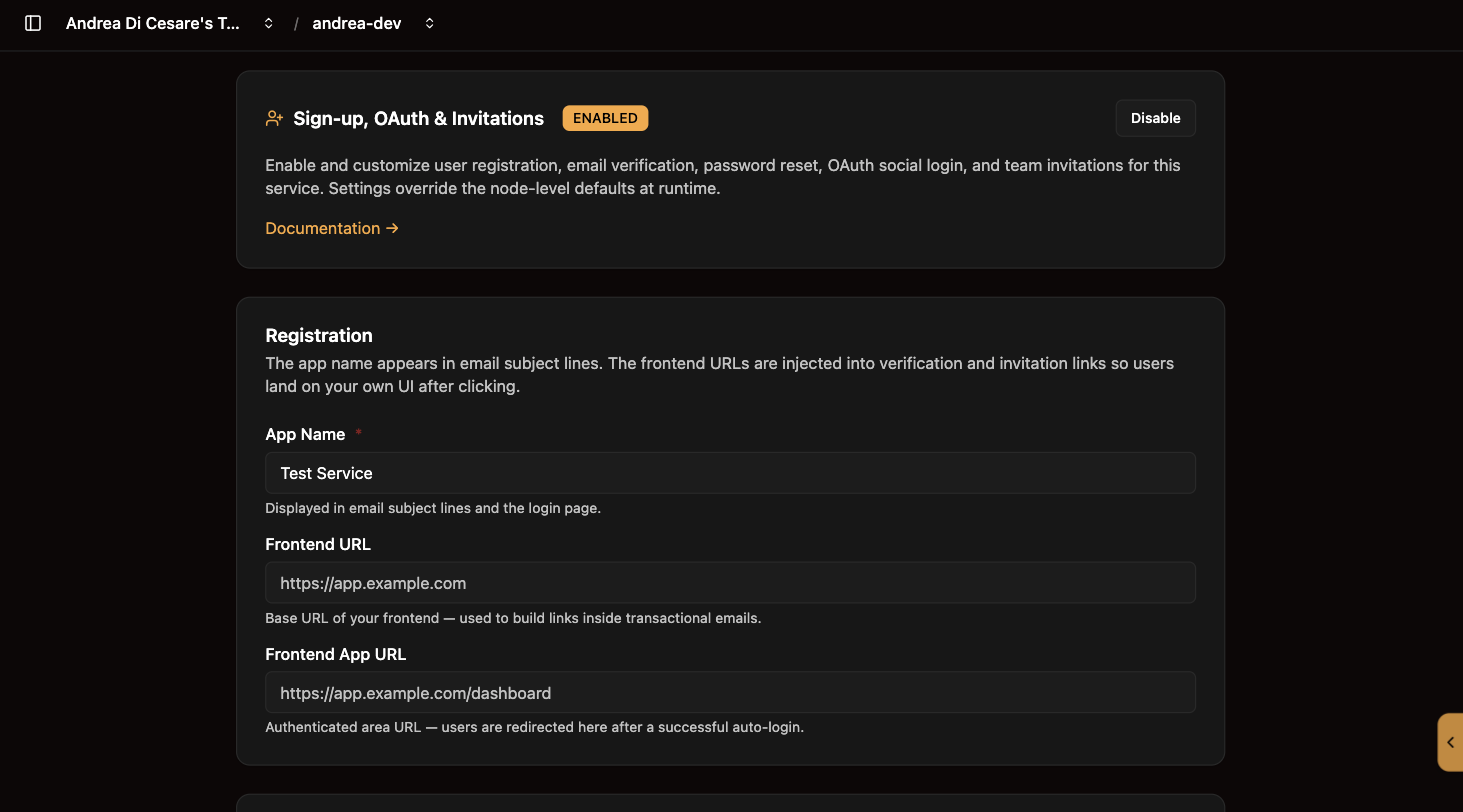
Turn it on
Open Sign-up Mgmt and click Enable. The page becomes the configuration form. Save applies every change at once; it takes up to a minute to reach every node of the service.
Tell it about your app
| Field | What it is for |
|---|---|
App Name |
Shown in email subjects and on the login page. |
Frontend URL |
Where your app lives, such as |
Frontend App URL |
Where a user lands after a link signs them in: after verifying their email, resetting a password, accepting an invitation or coming back from Google. Usually the app’s home for signed-in users, such as |
Choose the features
Each flow has a switch. Off, its endpoints answer 403.
| Feature | What the app calls |
|---|---|
Registration and verification |
|
Password reset |
|
Team invitations |
|
Login with Google |
|
The Kit calls these for you: register(), login(), forgotPassword(), inviteMember() and the rest. The full flows, with sequence diagrams, are in the accounts documentation.
Login with Google
-
In Google Cloud Console, open APIs & Services and configure the OAuth consent screen.
-
Under Credentials, create an OAuth 2.0 Client ID of type Web application.
-
Add this redirect URI, with your service’s address:
https://f3a9c1.eu-central-1-free-1.restheart.com/auth/oauth/callback/google" class="bare">https://f3a9c1.eu-central-1-free-1.restheart.com/auth/oauth/callback/google. -
Copy the client ID and secret into the OAuth section of the Sign-up page, switch Google OAuth on, and save.
The secret is stored encrypted. Details and security notes are in OAuth social login.
The emails
Three emails go out on your behalf: verification after registration, password reset, and invitation. Each has a built-in template; paste your own HTML to replace it, Fill default to start from ours, Preview to see it rendered. The {{app-name}}, {{first-name}}, {{verification-url}}, {{reset-url}}, {{invite-url}}, {{inviter-name}}, {{team-name}} and {{year}} placeholders are filled when the mail is sent. How many you can send, and how to send from your own address, is on the Email page. The template format, with translations, is in email templates.
What users cannot do to themselves
With the plugin on, a user cannot change their own roles, teams or verification status through the /users API, whatever their permission says. Registration, verification and invitations write those fields through their own endpoints. This is what stops a user who may edit their profile from promoting themselves to admin. Exemptions are described in accounts security.
Related pages
-
The Cloud Kit: the client side of every flow here.
-
Users: the accounts these flows create.
-
Guards: for instance, block a user who has not accepted the current terms.
-
Email: quotas and your own sender address.